

I know the title of this article alone probably has you fuming or befuddled or both. But if you’re anything like most of the editors I’ve had this conversation with, you’ll likely leave this article angry at the fact that I somehow convinced you that editing a podcast on an iPad might actually be a good idea.
But why, though?
The main thing to take into consideration before you ditch your $10k workhorse computer for your grandma’s iPad 2 (spoiler: don’t) is what you’re going to be editing. While I have no doubt my setup would suit a number of different workflows, I am going to be making the case specifically for those of you who will be editing actual play podcasts (although, this would work just as well for many other dialogue-heavy improvised shows).
Anyone who’s ever attempted to turn a five hour Dungeons & Dragons session full of “umms”, “ahhs”, rule checks, and pee breaks into a concise and snappy one hour episode knows it is a perilous undertaking. Compared to a dialogue edit for a scripted show, editing an actual play involves a lot more tweaking, manipulating, and rearranging in order to keep your listeners engaged (and your cast sounding clever and confident). All this editing can take hours upon hours. For any show on a fairly consistent release schedule, efficiency is key to keeping the production pipeline flowing steadily. This is where the iPad – and a few key tools – become a game changer. Through the ability to directly manipulate audio in a way that just is not possible with a typical keyboard and mouse setup, I have saved an immeasurable amount of time week after week.
What are you going to need?
Apple’s line-up of tablets can be confusing. Thankfully, what we’re going to be doing isn’t too demanding so it’s pretty easy to break down what you’ll need:
- An iPad with Apple Pencil capabilities
- An Apple Pencil
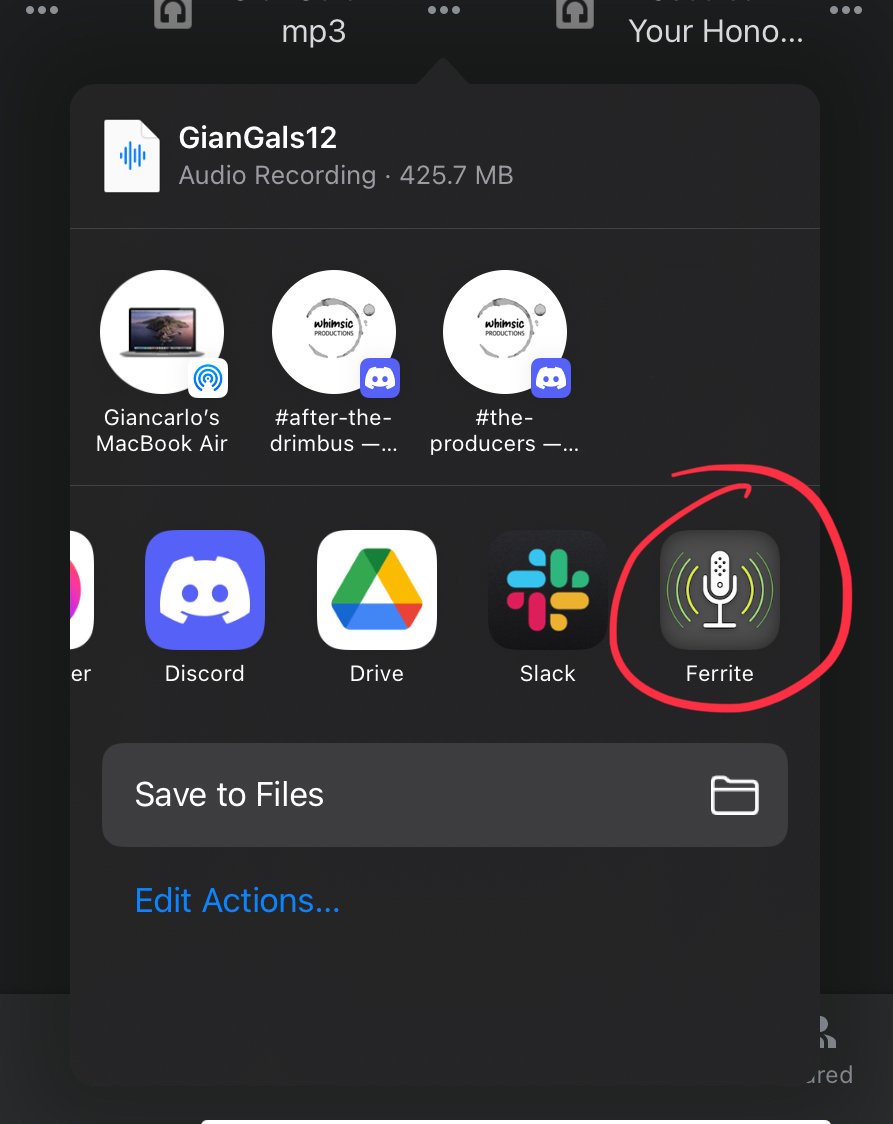
- Ferrite (an editing program available on the App Store)
If you don’t already have an iPad, I would recommend an iPad Air with 256 gigabytes of storage. You don’t need all the bells and whistles of a kitted out iPad Pro to run Ferrite effectively, but working with audio can definitely eat through storage quickly.
It should be noted these costs can definitely add up. By no means is any of this necessary to making a great actual play! But if you’ve already got an iPad laying around or have the funds and want to upgrade your workflow, I’ve found it to be worth the investment.
How do you do it?
The magic of editing on the iPad really shines when you combine Ferrite with the Apple Pencil. There are certainly other audio editing programs, and you can use Ferrite without the pencil (it even runs on iPhone). However, I find using one without the other to be ineffective and cumbersome for anything other than the most basic of edits.
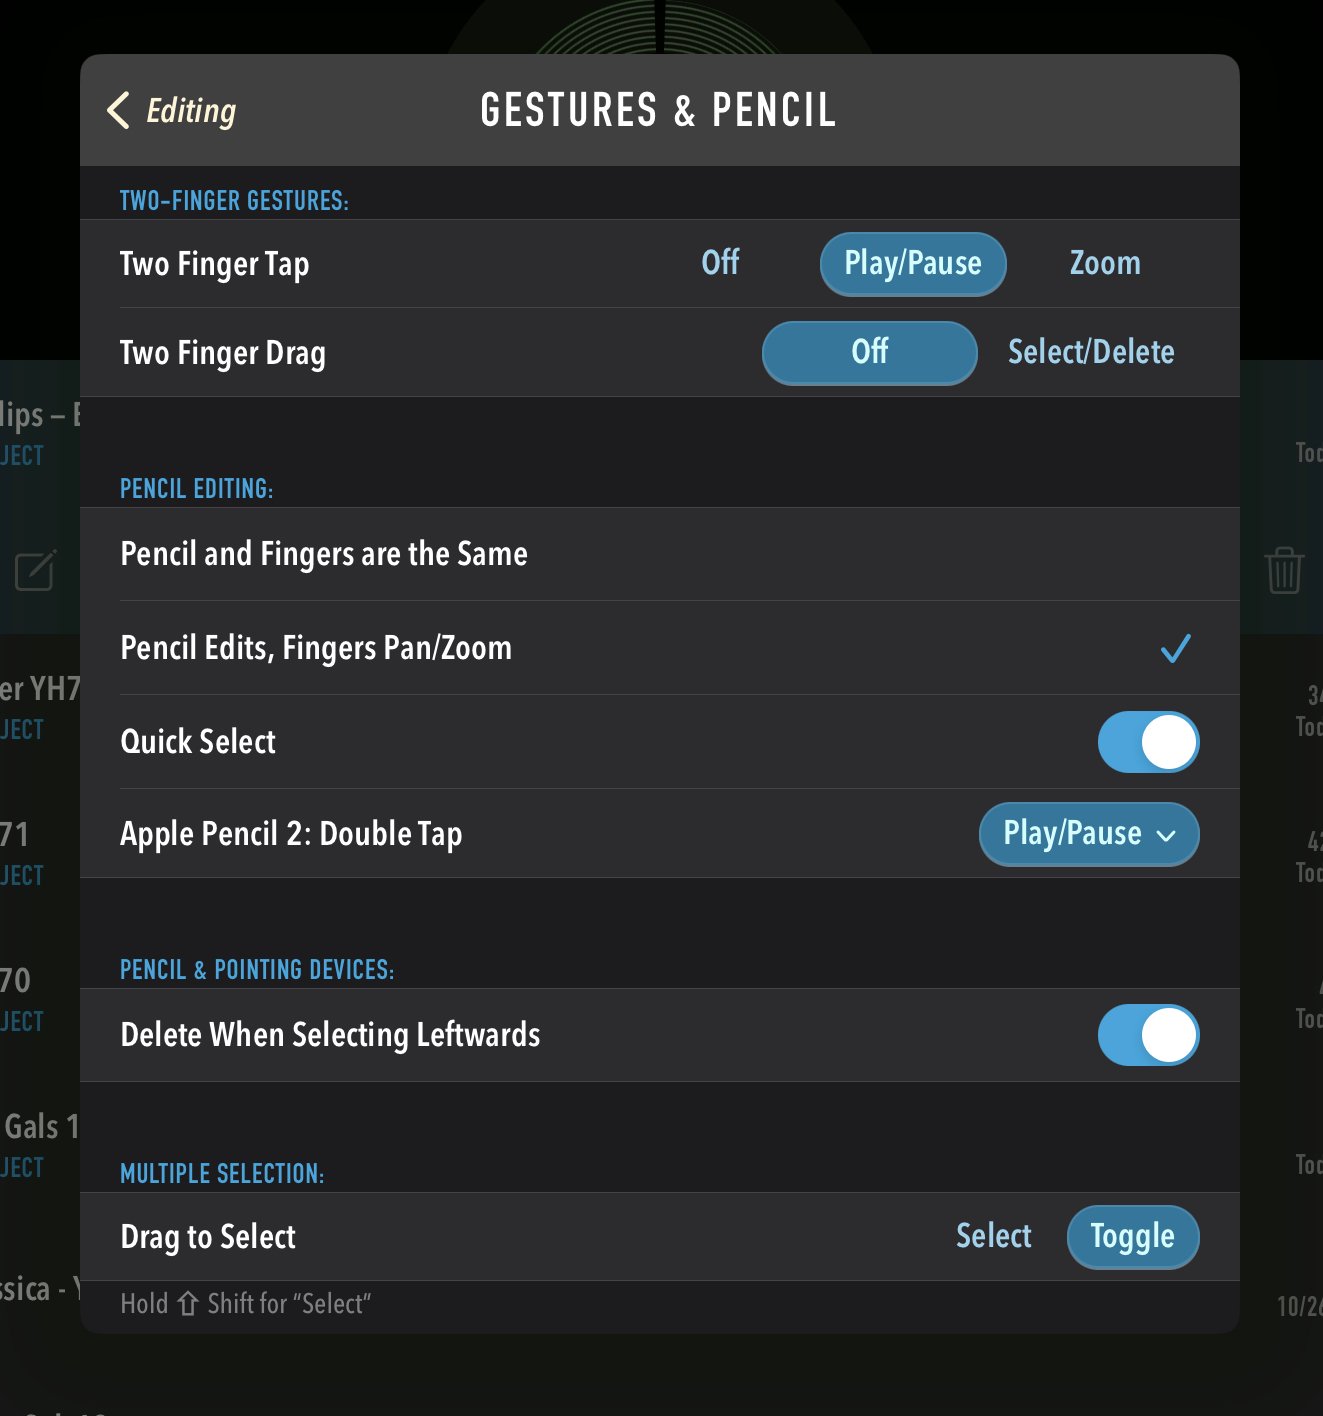
Ferrite is an audio editing program that was designed with the iPad in mind from the start. It’s surprisingly capable and has evolved alongside the iPad. As such, it now has gestures for use with the Apple Pencil. TURN THOSE ON!
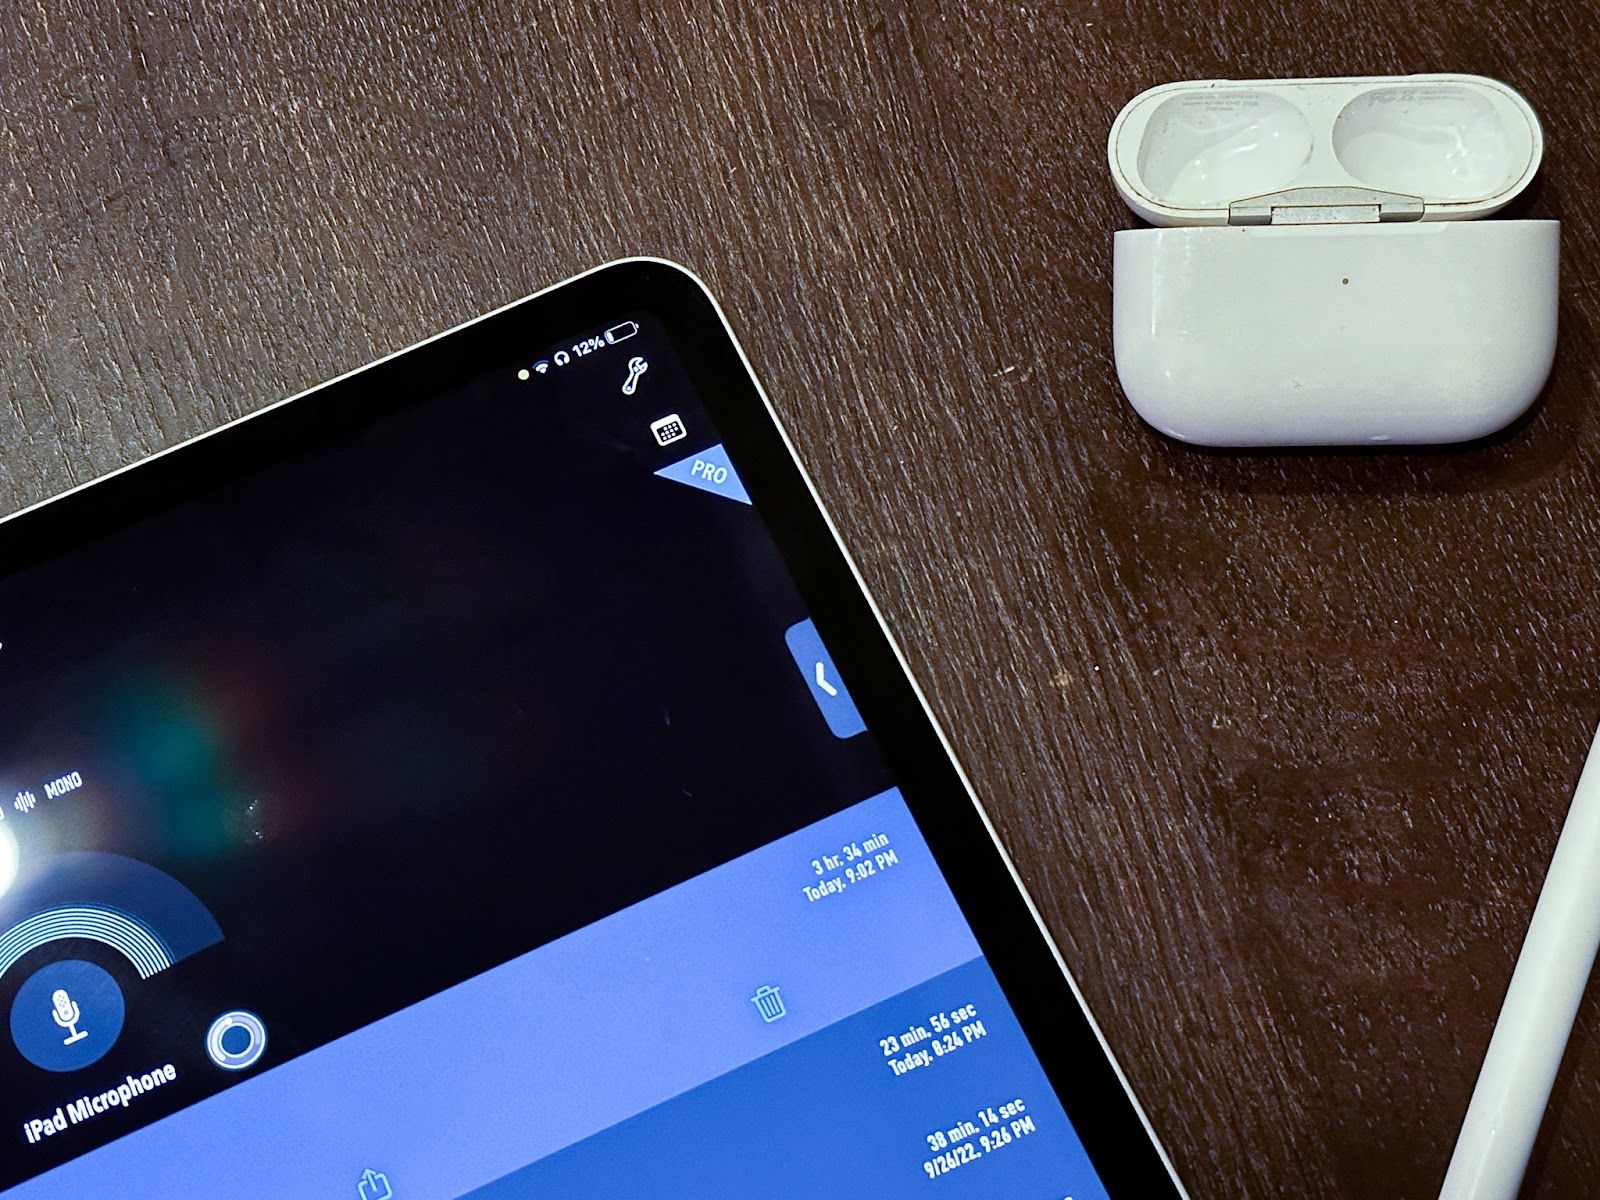
Importing audio is probably the clunkiest part of the process (file management still sucks on iPad OS). You can do so directly in the app, although I have an easier time exporting from whatever storage service my files are on (Google Drive, in my case) into Ferrite. Once they’re in you can create a project and allow Ferrite to do some of the heavy lifting for you.
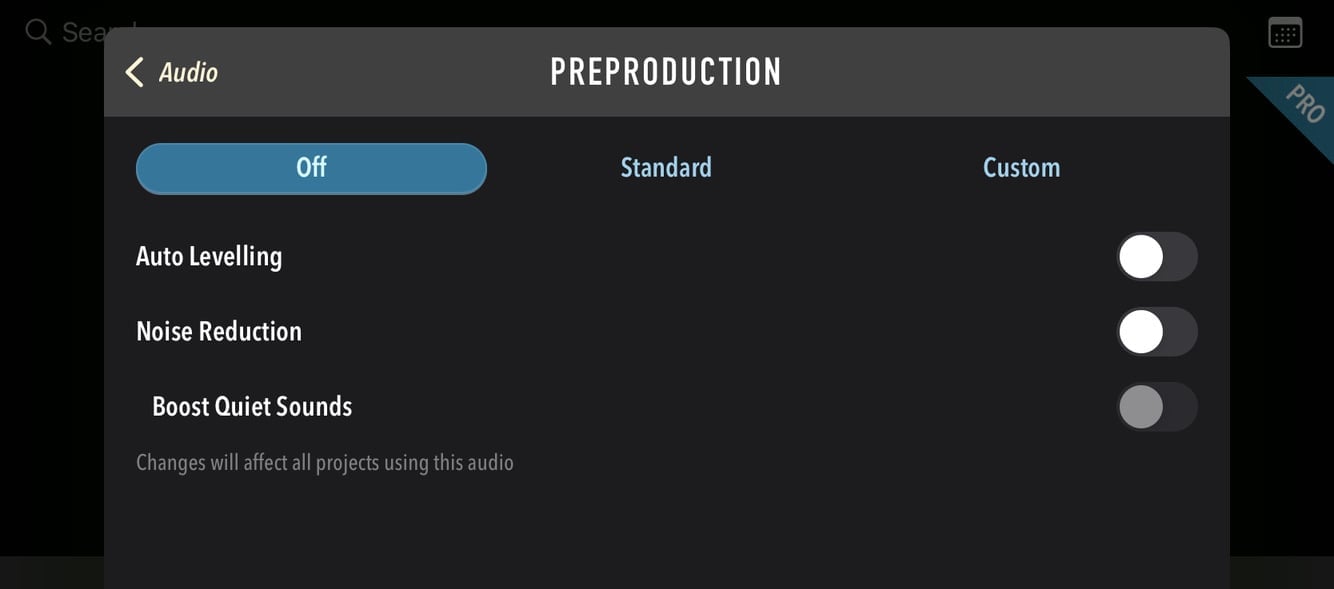
Ferrite is surprisingly capable. Digging through the effects menu reveals a number of useful tools like compressors and limiters which you can use to clean up your audio. I will often leave such tasks for when I move to Audition on a computer for sound design, but the option is there if you want to go all in or just need to boost someone’s audio a bit. Ferrite also has fairly decent auto leveling and noise reduction which can be applied to an individual audio file or to a project. I’ve certainly used these quite a bit, although they can occasionally have some janky results, so I would advise using them mostly as a helper before a proper clean-up/leveling is done during sound design.
The best tool Ferrite has for actual play editors are my dear friends “trim silence” and “tighten”. Any TTRPG session is going to have a fair amount of dead space. Trim silence allows you to delete any parts of a track that are silent (as defined by your set parameters). Then, tighten comes in to finish the job by shifting all those remaining clips closer together to remove any empty space in your project (save for designated minimum silence). This turns my projects from 3-5 daunting four-hour-long tracks into a far more workable set of clips where I can quickly understand when someone’s talking, where there is any overlap that needs to be corrected, or what clips are just erroneous dice and table noise. As an added bonus, it typically eliminates the 10-20% of the recording’s duration that is just dead air without shifting the tracks’ relative positioning to each other.
With that prep work out of the way, it’s time to take your Apple Pencil in hand and carve away at your session. This is where direct manipulation of audio is so invaluable. Ferrite has useful shortcuts with the pencil, like a double tap to select the rest of a single track or a triple tap to select the rest of all the tracks. This makes correcting overlap or adjusting silence quick and simple. I also have the Apple Pencil set to delete with a swipe to the left or to select with a swipe to the right. These gestures make it possible to remove a click/sneeze/nasty little mouth noise as I’m listening through (and with the tracks broken into clips it's really easy to catch those little random noises without even having to listen). None of these things may sound revolutionary, but take a second to consider how long it would take you to for example:
- Hit “r” to select a razor
- Cut the required tracks
- Select the erroneous noise
- Hit delete
- Select the remaining tracks
- Move them in place to account for the empty space
- Repeat hundreds of times in an episode
Now consider how much quicker it is to:
- Spot an obvious error coming up
- Swipe to the left
- Triple tap and drag
I can often do all of this without hitting pause. Maybe a more dexterous editor could accomplish that in Audition in the same amount of time, but I certainly can’t. And yes, this probably only saves you a few seconds. But considering the fact that I will sometimes make five or six of these edits over the course of a single sentence, it REALLY adds up. Especially when you’re working with such massive amounts of audio.
How far can I push it?
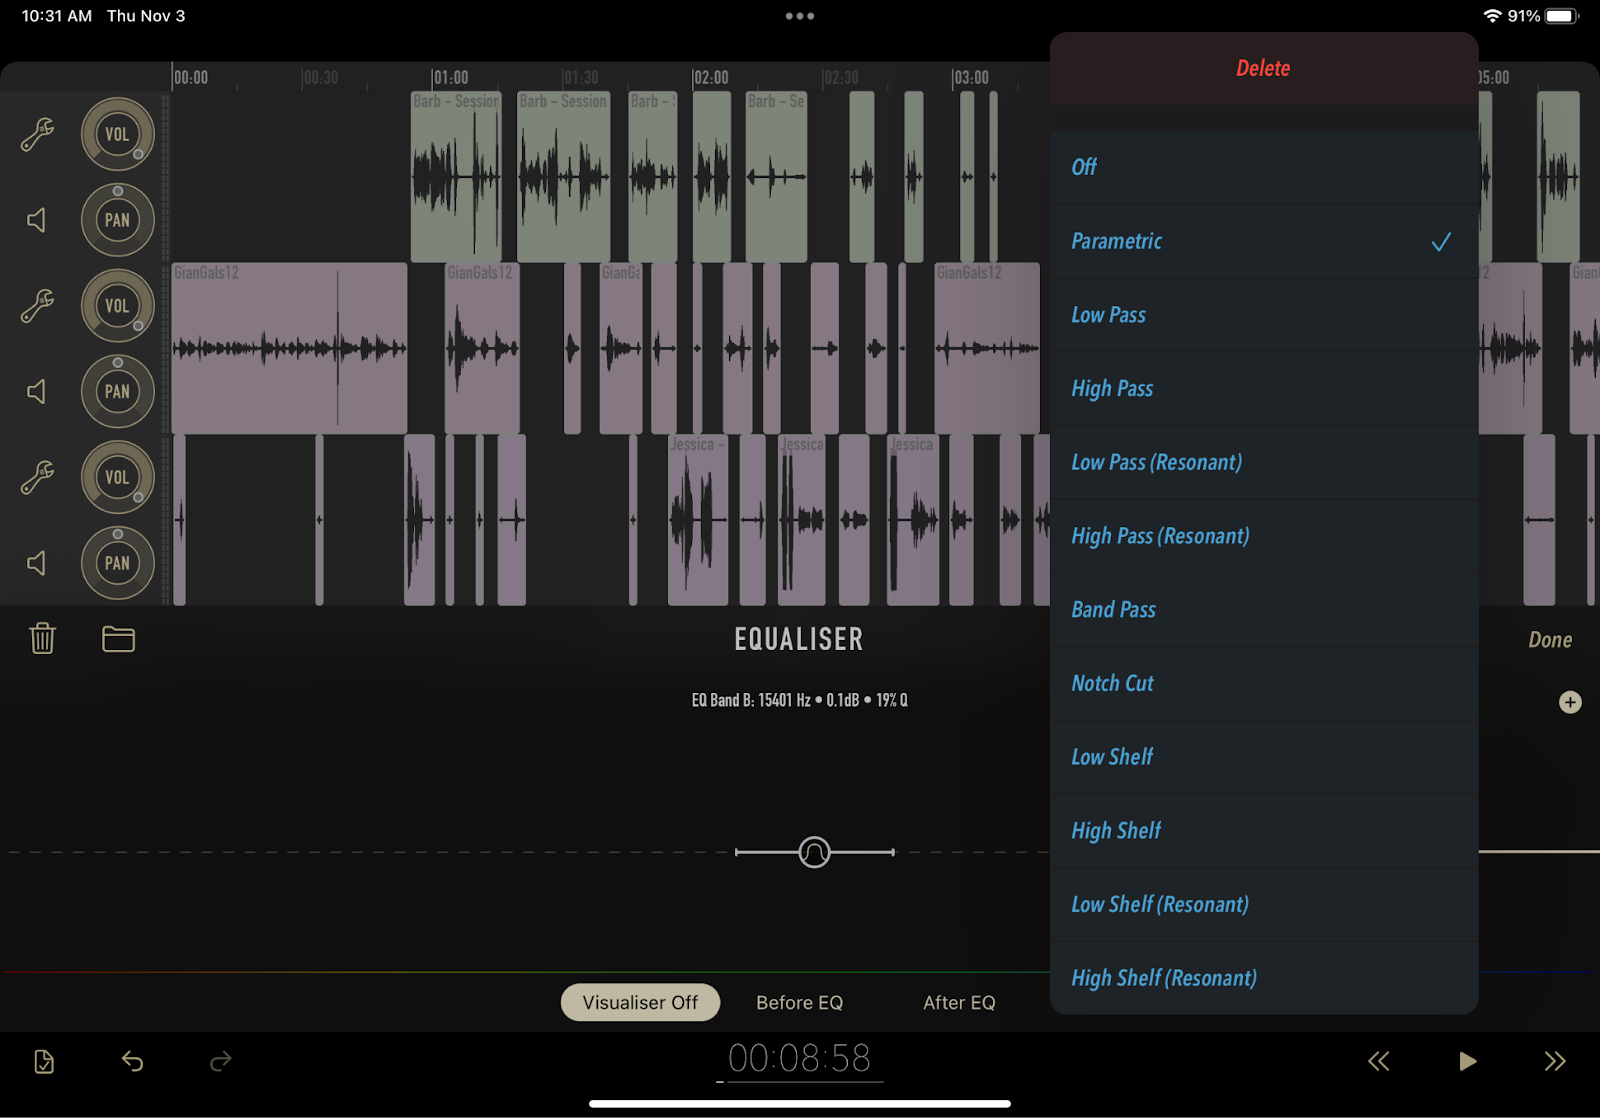
Ferrite comes with a compressor, equalizer, high pass filter, low pass filter, mid-side decoder, noise gate, and a warm amplifier. If you don’t know what any of those things are: no problem! Ferrite probably has more power than you need at the moment and should suit you pretty well. If your first thought was “what kind of equalizer?” then good news: there are a number of parameters to play with on most of these tools that you’ll likely find useful. That said, don’t expect anything so fancy as a spectral pitch display to help clean up every little erroneous noise.
As I said earlier, Ferrite is a tool I use in conjunction with other software. To its credit, it is the only program I use for edits (and leagues ahead of any other setups I’ve tried in the past). However, if you want to produce 30-track episodes with effect after effect after effect, you will quickly run up against the program’s limitations. I can tell you from experience because I have indeed sound designed episodes solely in Ferrite in the past!
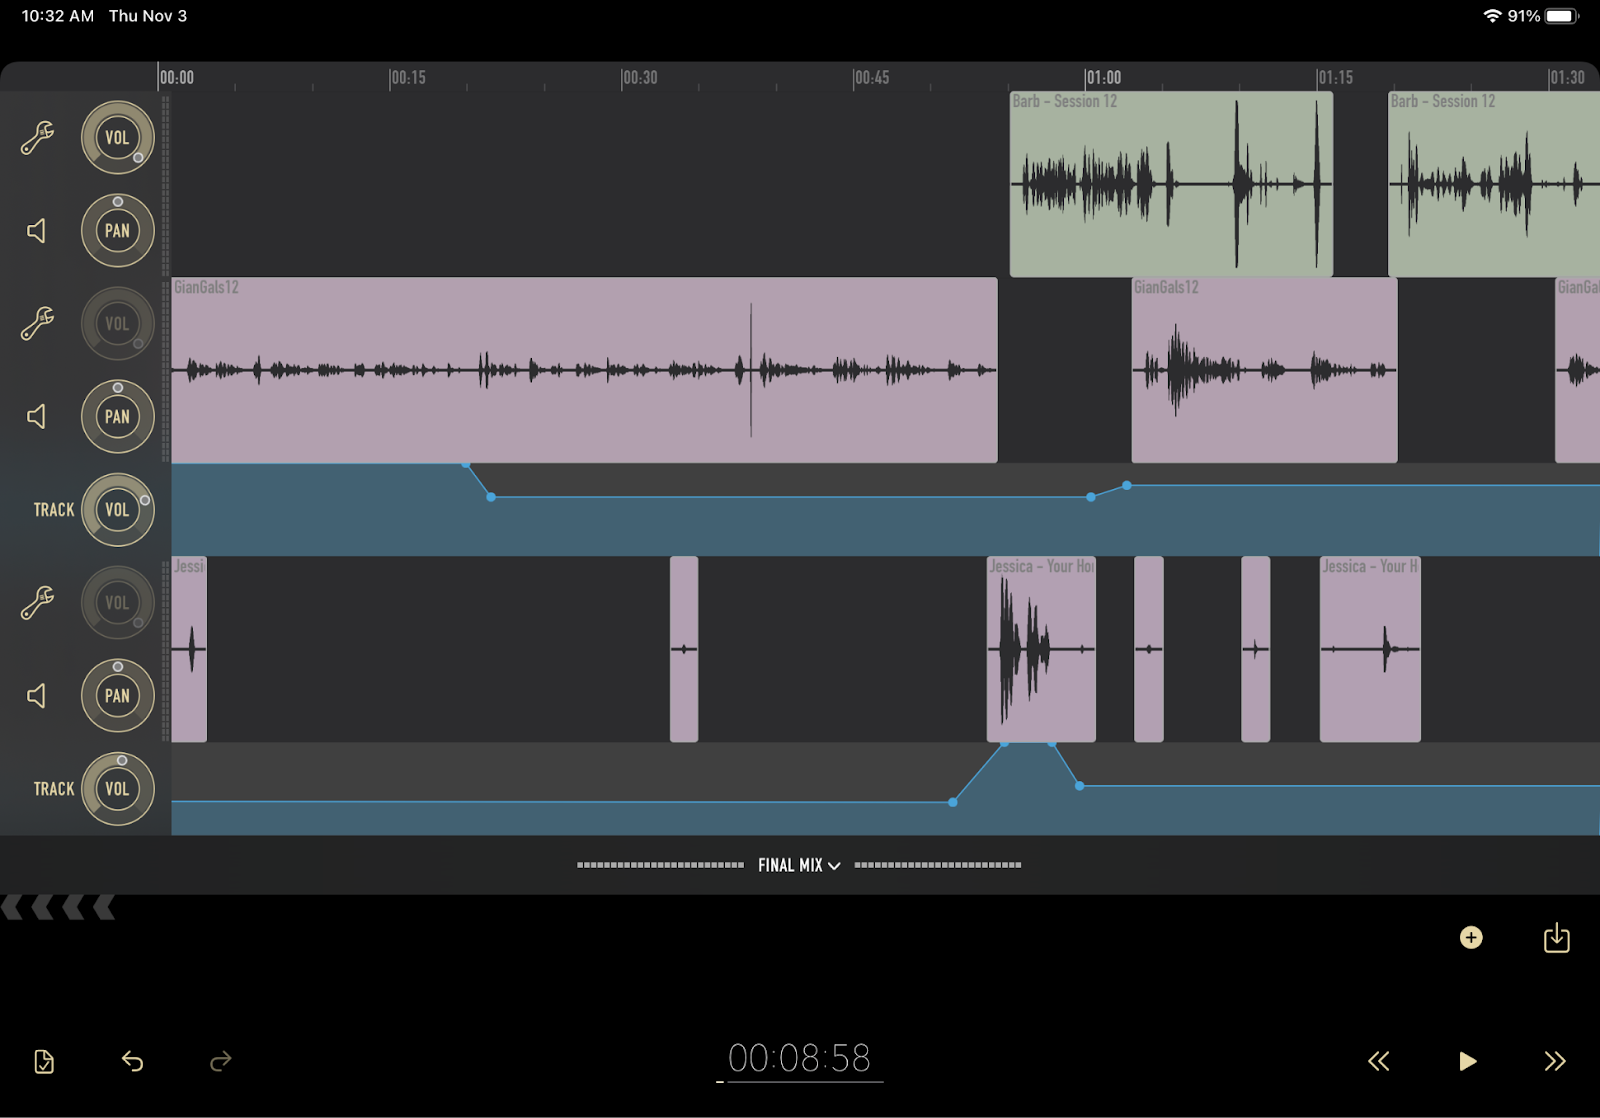
One such limitation can be found in volume control. While Ferrite does have volume and pan controls, they are assigned to tracks and not the individual clips themselves. This isn’t a huge deal to work around since Ferrite does allow you to set keyframes. But what it does mean is that you better be damn sure that clip is where you want it to be. Because if you make an edit after the fact and nudge positioning at all, resetting those keyframes is going to be an annoyingly herculean task on an hour-long episode. This also means that if your sound effects aren’t already at the appropriate volume, you will likely have to make tons of tracks (or very carefully set keyframes) to make them sound right. You also don’t have much in the way of voice modulation, echoes, plug-ins, or any number of other things you might expect in a typical DAW (digital audio workspace). Basically, if you have ambitions beyond basic ambience, music, and maybe a sound effect here and there – you’re gonna want to switch to something more robust.
This isn’t to say Ferrite is an awful program or that the iPad is a useless giant iPod Touch. Ferrite is an efficient editor probably designed with chat casts in mind rather than meticulously sound designed actual plays. Paired with an iPad and Apple Pencil, I find that direct manipulation of audio to be so ridiculously compelling that I’m willing to sit down and write this entire article in the hopes that someone who might love it as much as I do gives it a shot. However, it’s important to paint a realistic picture and take the needs of your workflow into account. Because at the end of the day only you can answer the question:
Is this the right setup for me?
I’ll tell you who this isn’t for. If you’re looking to launch your actual play as DM, editor, sound designer, graphic designer, marketing department, and show mascot while scraping together every last penny to buy the one machine that can do it all for you: this is not the wisest investment.
However, if you’ve already got an iPad lying around (or have the discretionary funds to pick one up), I believe it will make the editing portion of your job infinitely more pleasurable. In fact, if you’re exclusively in dialogue editing then I would definitely make the case for investing in this setup over a computer running a “traditional” DAW.
After editing on my iPad daily for the last two years, I’ve come to appreciate the importance of working with a setup you enjoy. It’s definitely a luxury. But if you’re going to spend a significant portion of your day working on edits, then having a machine that is an actual pleasure to use – and that does its job effectively – makes a world of difference in both the quality of your work and your quality of life while doing said work. Being able to edit at my desk, on a long trip, a coffee shop, or even a park is not something I would endeavor to try nearly as often on another setup.
Maybe it’s the weirdo-tech-enthusiast in me, but the intuitiveness of taking a pencil in hand and cutting audio as simply as sketching in a notebook has changed the way I work entirely. I now eagerly await the day an app can do this for my sound design workflow. It’s definitely not for everyone, but if your workflow is at all like mine I’d encourage you to give it a go. You might find it impossible to go back.
Giancarlo Herrera is an NYC based actor, podcaster, and all around nerd. You can hear him in action as the DM and sound designer of Dungeons & Drimbus every Friday! When he's not in the booth or onstage, he's a devoted father of seven (snakes, not humans). For other news and occasional snake pics you can reach him as @Gianster98 or at gianherrera.com